Decoup - A Wordpress Theme by CactusThemes
First of all, thank you for buying our theme. We are a team of developers making awesome WordPress Theme
- To make your experience pleasant, we have added as much information as needed in this documentation.So,
you should be able to find answers to all problems regarding using the theme.
Installation
The Full Package includes these following files and folders:
- Documentation folder - Contain this document and other materials
- Installation Files folder - Contain all installable files, including theme & plugins
- themes/decoup.zip - WordPress Theme Installation file
- plugins/decoup-core.zip - WordPress plugin to enable Coupon feature
- plugins/decoup-shortcodes.zip - WordPress plugin to enable shortcodes
- plugins/decoup-unyson-backup-restore.zip - WordPress plugin to Import demo data for
Decoup
- plugins/cactus-frontend-submission.zip - WordPress plugin to enable Coupon
submission feature
Note: You can install optional plugins if needed. We recommend using these extra plugins (free). All
have been tested and used on our demo page.
Go to Plugins > Add New to install and
activate plugins
INSTALL VIA WORDPRESS
- Login to WordPress Admin
- In the left menu panel go to Appearance > Themes > Add New to install theme, or Plugins
> Add New > Upload to install plugins
- Click Upload
- Browse your download package to select installation files
- Click Install Now button
- Once it's uploaded, click the Activate link
INSTALL VIA FTP
- Use your FTP software to browse to wp-content/themes folder to install theme or wp-content/plugins folder
to install plugins
- Extract the installation files to their corresponding folders, for example decoup.zip to decoup and
upload to server
- Once it's uploaded, go to your WordPress Admin, browse to Appearance > Themes or Plugins
> Installed Plugins
- Click the Activate link
After the process of installation is finished, your page will be displayed in form of a blog page
Update Theme
- Deactive current theme by going to Appearance > Themes and activate any other themes such
as the default Wordpress 3.8's Twenty Fourteen.
- Delete older version by clicking on Delete link. Confirm to delete.
- Update and re-install new version.
All posts and settings will be saved. This is data-safe method.
Auto Update
- Go to Envato Market, find and
download
envato-market.zip.
Then please upload and install this plugin.
- To establish an Envato Marketplace API connection navigate to the Envato Toolkit page and insert
your Marketplace username and secret API key in the designated input fields. To obtain your API Key,
visit your "My Settings" page on any of the Envato Marketplaces
- Once the API connection has been established you will see a list of themes that can be auto installed.
If you don't see any themes and are certain you've done everything correct, there is a good chance the
theme author has not updated their theme to be available for auto install and update. If that's the
case, please contact the theme author and ask them to update their theme's information
- Note Only theme is updated. Related plugins must be updated manually. Please check release logs
to see if you need to update plugins
INSTALL SAMPLE DATA
ONE + CLICK INSTALL
Before starting, it is noted that
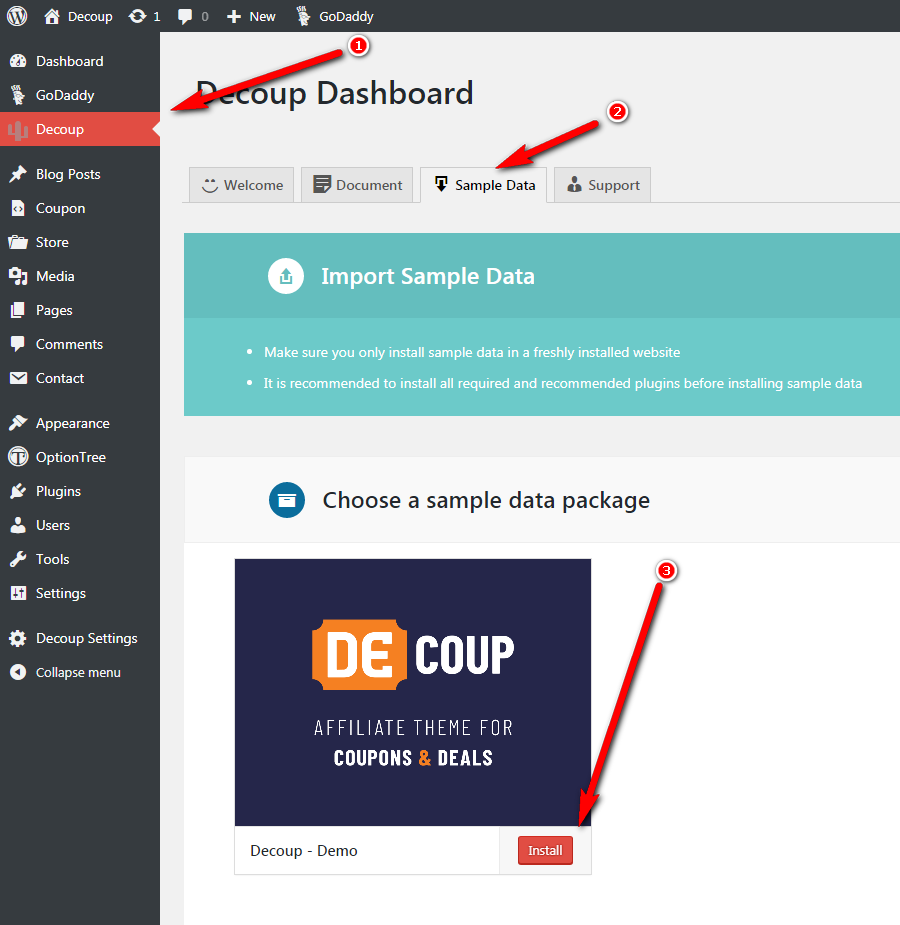
- First, you have to install Decoup - Sample Data plugin. This plugin is included with your
download package
- It is better to install sample data on a fresh Wordpress installation. Therefore, you may want to
reset your site to default settings. Install and
use Wordpress
Reset plugin to do that. After installed, go to Tools > Reset
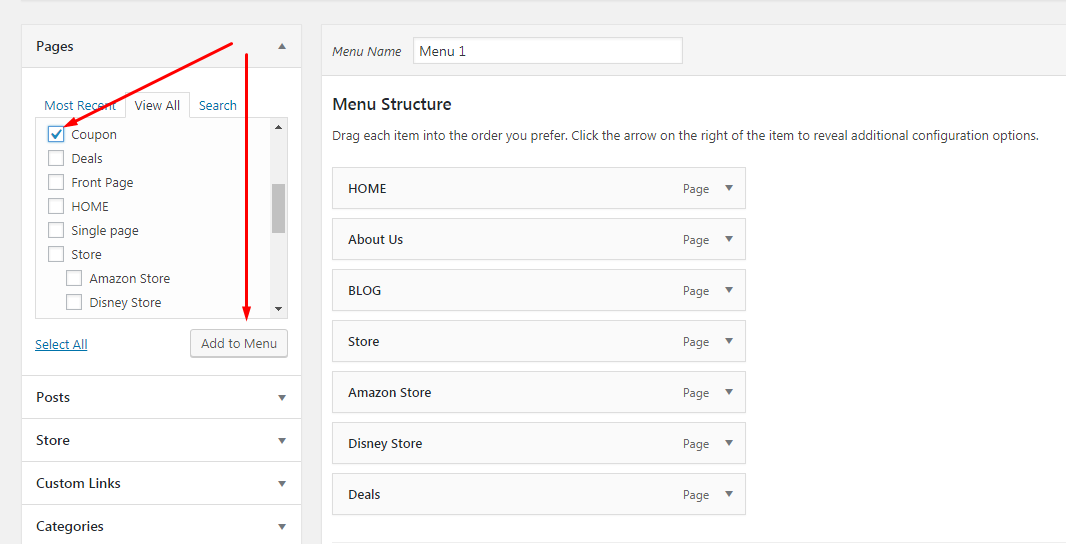
- If you have to run the process more than once, menu items may be duplicated. Just go to Appearance
> Menus and edit/delete Main Menu items
Go to Decoup > In Sample Data Tab. Click to install sample data.
IMPORT MANUALLY
Alternatively, you can use traditional way to import data. In
/Sample Data/ folder, you can
find there are:
- coupon.xml All Data
- theme-options.txt Theme Options Settings
- coupon-widgets.json Widgets Settings
To install sample data as seen on
our demo page, following
these steps
Step 0. Make sure you have installed the blog theme and all recommended plugins
Step 1. Go to Tools > Import, then click on Wordpress
Step 2. If it is not yet installed before, you have to install it. On the popup window, click on
"Install Now"
Step 3. After installed successfully, click Activate Plugin & Run Importer
Step 5. After uploaded, the confirmation page appears. Check the Download and import file
attachments option and click Submit. If you have trouble with importing (it might breaks in the middle due to long execution time), try again with this option Unchecked! Or, try to import separate files as they are smaller
Step 6. After uploaded, the confirmation page appears. Check the Download and import file
attachments option and click Submit
Step 7. When you see message "All done. Have fun!", you will know that the import
is done. Note: you may need to re-import the second time if the data is large. Back to Step 1. until you see the message below
Step 8. Go to Settings > Reading, set Front page displays to A Static page.
Choose Home Page page as Front page and Blog as Posts page
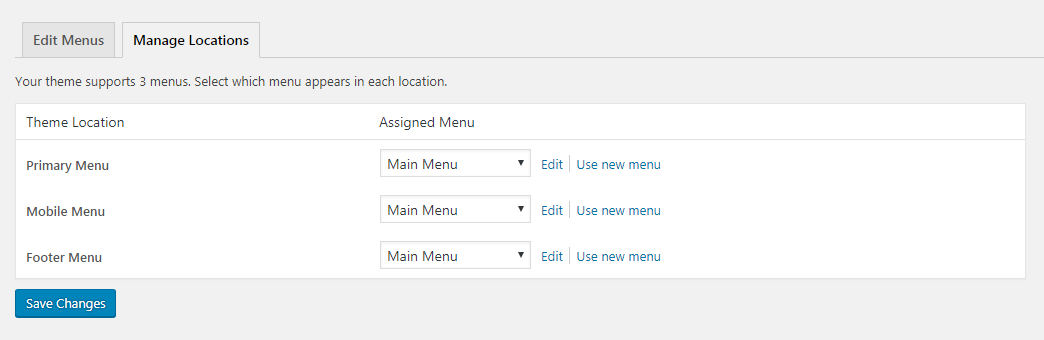
Step 9. Go to Appearance > Menus, choose Main Navigation menu as Prim
ary Menu
Step 11. Go to Option Tree > Settings > Import and paste content of Sample-Data/theme-options.txt into
Theme Options text field, then click Import Theme Options button.
Step 12. OK, done!
HOW TO CREATE HOME PAGE
- Create two new pages in WordPress (under Pages > Add new), and publish them
For
the purpose of demonstration, we’ll call these “Home” (for the Front, or Home page)
and “Blog”
- Go to Settings > Reading Settings, and under “Front page displays”, click the
radio button for A static page
Select “Welcome” in the first drop down (for
Front page), and select “Blog” in the second one (for Posts page). Save the changes
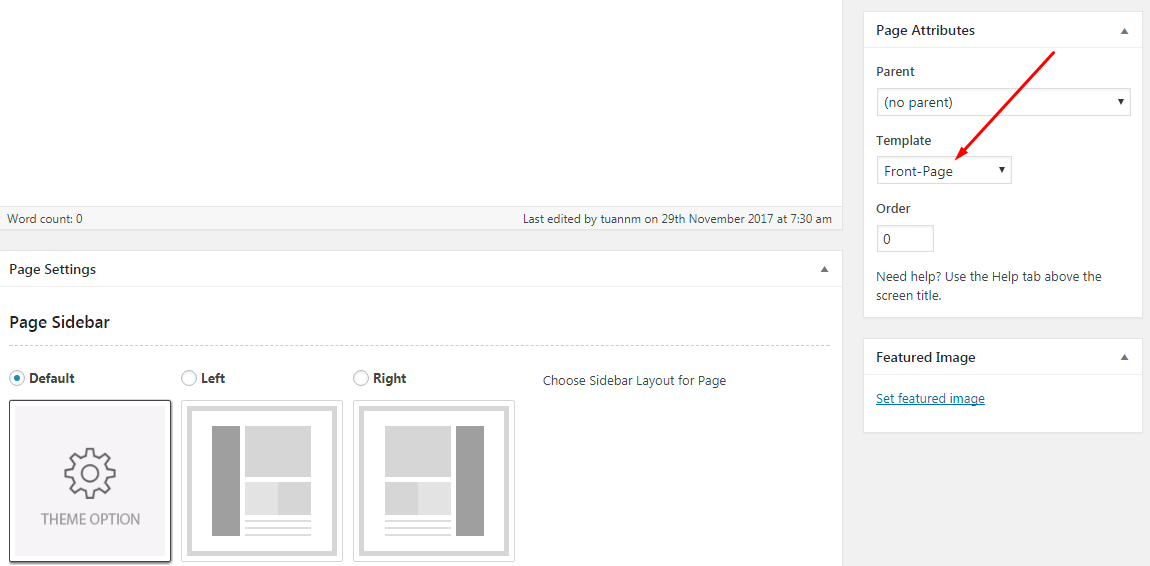
FRONTPAGE TEMPLATE
The Blog provides a page template called Front Page to configure special Frontpage (or Home).
- Go to Pages > All Pages and edit “Home” page created in previous step
- Choose Front Page in Template.
THEME OPTIONS
The blog comes with a lot of options to help you totally customize the look & feel of your site. Go to Appearance
> Theme Options to configure.
Below is the detail of how to use those functions.
GENERAL
The general configuration for website
- Logo Image - Upload your logo image
- Retina Logo (optional) - Retina logo should be two time bigger than the custom logo. Retina Logo
is optional, use this setting if you want to strictly support retina devices.
- Login Logo Image - Upload your Admin Login logo image
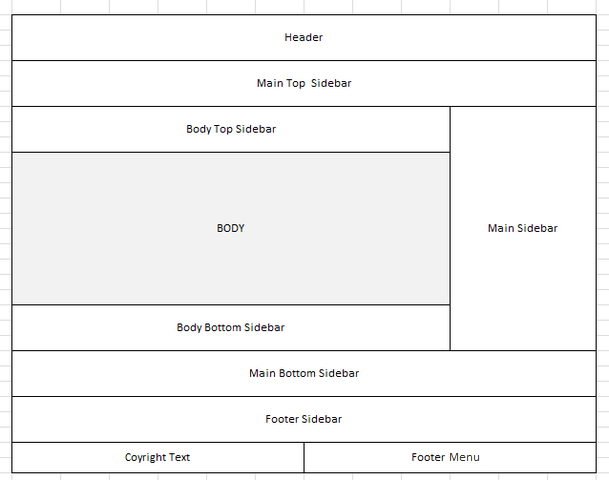
GENERAL LAYOUT
Use Custom Code in Main Bottom Sidebar - Select Enable/Disable: Use Custom Code in Main
Bottom Sidebar replace for Widgets
- Main bottom Sidebar Background - Set custom background for Main bottom: Select Color/
background-repeat/ background-attachment/ background-position/ background-size.
- Main Bottom Sidebar - Padding - Padding in Main Bottom Sidebar.
- Main Bottom Sidebar - Custom Code - Enter custom code here.
CUSTOM COLOR
Custom Colors - Select Enable/Disable
- Primary Color - Choose Primary Color of the theme.
- Secondary Color - Choose Secondary Color of the theme.
- Verify Tag color - Choose Color for Verify tag in Coupon.
- Coupon Code Tag color - Choose Color for Coupon Code Tag in Coupon.
Customize Header Colors - Select Enable/Disable: Change various color settings on Header
- Top Bar Text Color - Choose color for Top Bar Text Color.
- Top Bar Background - Choose color for Top Bar Background.
- Main Header Background - Choose color for Main Header Background.
- Header Search-box Background - Choose background color for search-box on Header.
- Header Search-box Color - Choose color for search-box on Header.
- Navigation - Item Color - Choose color for menu items on Navigation.
- Navigation - Item Background - Choose background color for menu items on Navigation.
- Navigation - Item Hover Color - Choose hover color for menu items on Navigation.
- Navigation - Item Hover Background - Choose hover background for menu items on Navigation.
- Navigation - Current Menu Item Color - Choose hover color for current menu item color on
Navigation.
- Navigation - Current Menu Item Background - Choose hover color for current menu item background
on Navigation.
- Navigation - Background Color For Sub Menu - Choose background color for sub menu of Navigation.
- Navigation - Sub Menu Item Border Color - Choose color for sub menu item border color.
- Navigation - Sub Menu Item Color - Choose color for sub menu item of Navigation.
- Navigation - Sub Menu Item Hover Color - Choose hover color for sub menu item of Navigation.
Mobile Menu Custom Color - Select Enable/Disable: Change various color settings on Mobile
Menu
- Canvas Menu - Background - Set Background Color of Canvas Menu.
- Canvas Menu - Menu Item Color - Set Color of Item of Canvas Menu.
- Canvas Menu - Menu Item Hover Color - Set Hover Color of Item of Canvas Menu.
CUSTOM FONTS
Custom Google Fonts - Choose font: Load custom Google Fonts to be used in website.
Custom Font Settings - Select Enable/Disable: Change various font settings
- Use Google Font for Main Font - If you use Google Font for Main Font Family, turn this on
- Main Font Family - Enter name of font family here.
- Main Font Size - Choose Font Size. Default is 14px.
- Main Font Weight - Choose Font Weight.
- Main Font Line Height - Choose Font Line Height. Default is 1.7.
- Use Google Font for Heading Font - If you use Google Font for Heading Font Family, turn this on.
- Heading Font Family - Heading Font is used for all heading tags (ie. H1, H2, H3, H4, H5,
H6). Enter name of font family here.
- H1 - Font Size - Choose font size for H1. Default is 36px.
- H1 - Line Height - Choose Font Line Height. Default is 1.2em.
- H1 - Font Weight - Choose Font Weight.
- H2 - Font Size - Choose font size for H2. Default is 36px.
- H2 - Line Height - Choose Font Line Height. Default is 1.2em.
- H2 - Font Weight - Choose Font Weight.
- H3 - Font Size - Choose font size for H3. Default is 24px.
- H3 - Line Height - Choose Font Line Height. Default is 1.3em.
- H3 - Font Weight - Choose Font Weight.
- H4 - Font Size - Choose font size for H4. Default is 18px.
- H4 - Line Height - Choose Font Line Height. Default is 1.3em.
- H4 - Font Weight - Choose Font Weight.
- H5 - Font Size - Choose font size for H5. Default is 16px.
- H5 - Line Height - Choose Font Line Height. Default is 1.4em.
- H5 - Font Weight - Choose Font Weight.
- H6 - Font Size - Choose font size for H6. Default is 14px.
- H6 - Line Height - Choose Font Line Height. Default is 1.4em.
- H6 - Font Weight - Choose Font Weight.
- Use Google Font for Navigation - Select Enable/Disable: If you use Google Font for Navigation
Items, turn this on.
- Navigation - Google Font - Choose font to be used for Navigation Items.
- Navigation - Font Size - Choose font size for Navigation Items. Default is 16px.
- Navigation - Font Weight - Choose Font Weight.
- Use Google Font for Meta Font - Select Enable/Disable: If you use Google Font for Meta Font
Family, turn this on.
- Meta Font Family - Choose font: Meta Font is used for all meta tags.
- Meta Font Family - Meta Font is used for all meta tags. Enter name of font family here.
- Custom Font 1 - Upload your own font and enter name "custom_font_1" in "Main Font Family or
Special Font Family" setting above.
- Custom Font 2 - Upload your own font and enter name "custom_font_2" in "Main Font Family or
Special Font Family" setting above.
- Custom Font 3 - Upload your own font and enter name "custom_font_3" in "Main Font Family or
Special Font Family" setting above.
- Global Message - Appear on Top of Header
Blog
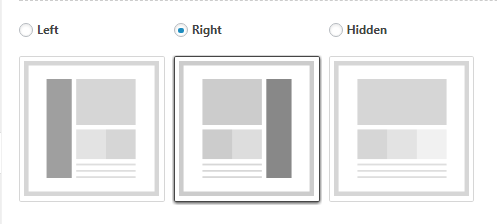
- Blog Sidebar - Set custom Sidebar for Blog: Left/ Right/ Hidden.
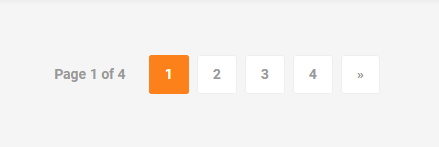
- Blog Navigation - Set custom Navigation for Blog: WP PageNavi/ Default/ Ajax.
- WP PageNavi .
- Default
- Ajax
SINGLE POST
- Sidebar - Set custom Sidebar for Single Post: Left/ Right/ Hidden.
- Tag - Choose Enable/Disable: Show Tags list.
- Post Category - Choose Enable/Disable: Show Category list.
- Post Author - Choose Enable/Disable: Show Author.
SINGLE PAGE
- Sidebar - Set custom Sidebar for Single Page: Left/ Right/ Hidden.
- Enable Comments by default - Enable Comment Panel under Single Pages.
404 - PAGE NOT FOUND
- Head Title Tag - Content of Title Tag (to be appeared on browser Tab Name).
- Page Featured Image - Upload your Featured Image into 404 Page.
- Page Title - Enter title of the Page.
- Page Content - Enter content of the Page.
SOCIAL ACCOUNTS
- Custom Social Accounts - Add Social Account.
- Open Social link in new tab - Select Enable/Disable.
MISC
- Copyright Text - Enter title of Copyright: It appears in Footer.
- SEO - Echo Meta Tags - Select Enable/Disable.
- Lazyload - Select Enable/Disable.
- Enable Smooth Scroll Effect
- Enable Go To Top button
- Turn On/Off loading FontAwesome - If you don't use FontAwesome (a Font Icons library), you
can turn it off to save bandwidth.
- Turn On/Off loading Ionicons - If you don't use Ionicons (a Font Icons library), you can turn
it off to save bandwidth.
- Turn On/Off loading CT-Icons - If you don't use CT-Icons (a Font Icons library), you can turn
it off to save bandwidth.
- Custom CSS - Enter custom CSS. Ex: .class{ font-size: 13px; }.
- Facebook App ID - (Optional) Enter your Facebook App ID. It is useful when you share your
post on Facebook.
- Default Heading Icon - Default Heading Icon in some heading position. Default is
"ion-ios-star".
- Pre-loading Effect - Choose Enable All/ Disable All/ Font-page Only .
- Thumb 70x70px - Select Enable/Disable: This thumb size is used for thumbnail Widget Latest
Post.
- Thumb 110x110px - Select Enable/Disable: This thumb size is used for: Testimonial Avatar
Image Small.
- Thumb 370x208px - Select Enable/Disable: This thumb size is used for: Shortcode Project
Layout 2 size Small.
- Thumb 370x416px - Select Enable/Disable: This thumb size is used for: Shortcode Project
Layout 2 size large.
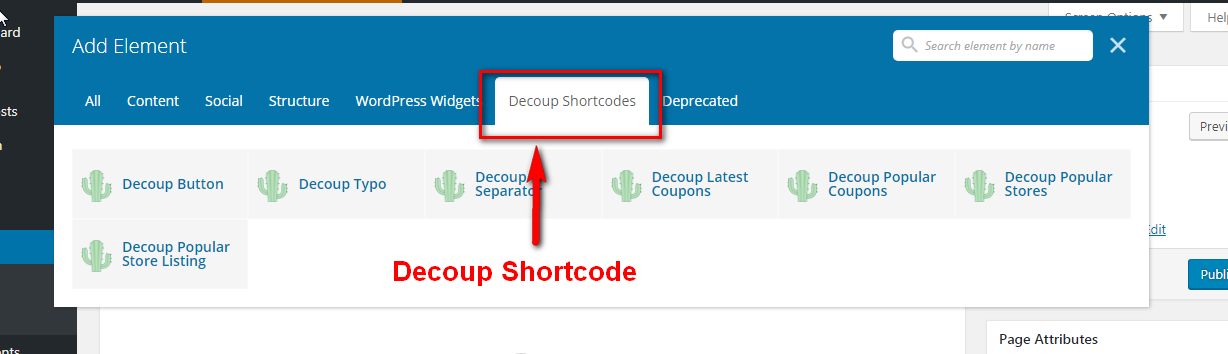
Theme Shortcodes
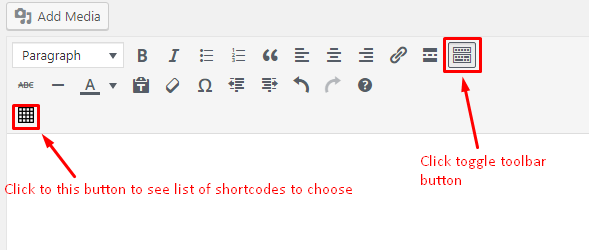
When Couponseed-shortcodes plugin is installed, shortcodes can be used in either Classic Editor or Visual
Composer mode (require Visual Composer plugin installed). You can type shortcode directly in Classic
Editor or use Visual Composer element to configure the shortcode
Most of the properties of shortcodes are optional. You only need to include properties
when needed
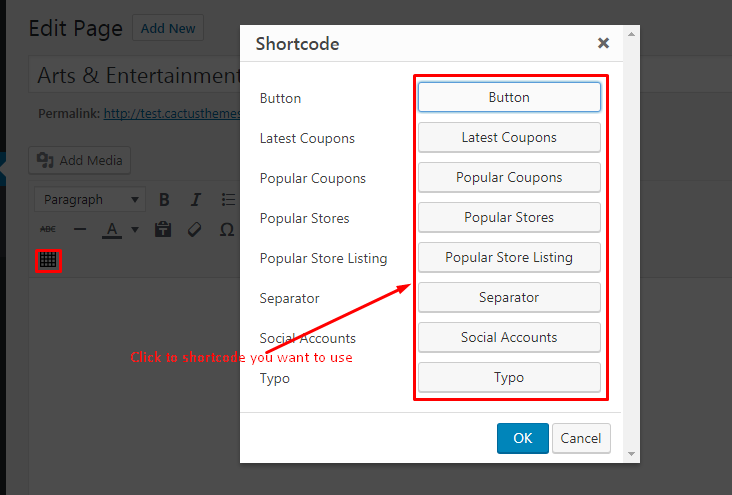
1. Using Classic Editor
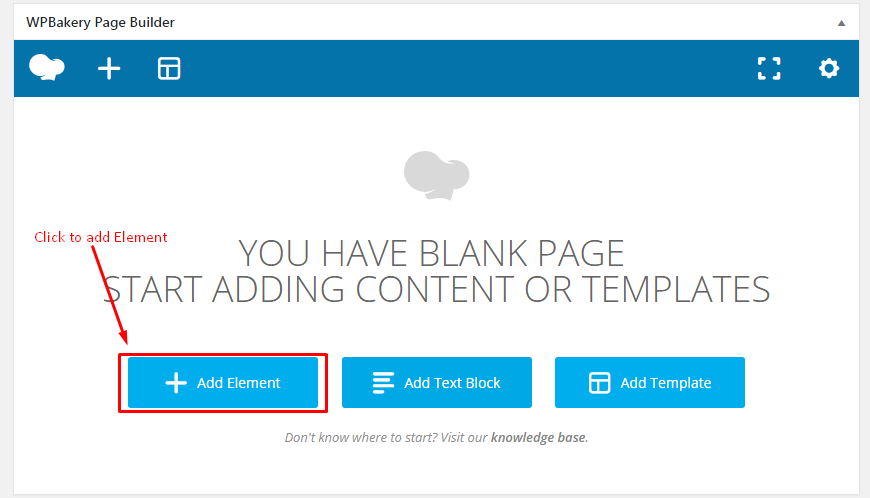
2. Using WPBakery Page Builder Editor (formerly Visual Composer)
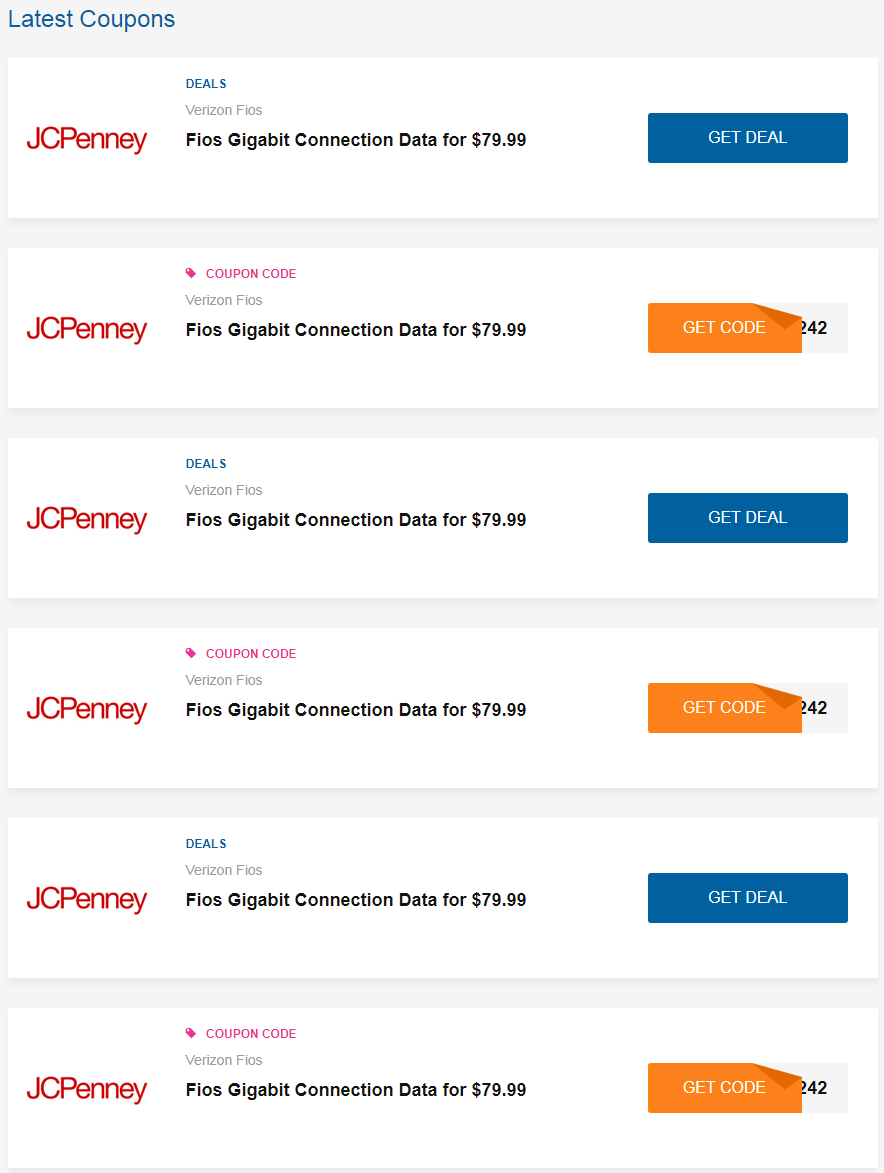
LATEST COUPONS
This shortcode will display a number of latest coupons as specified.
- title - text - title of shortcode to display. Default is empty
- count - number - number of coupons to show. Default is 6.
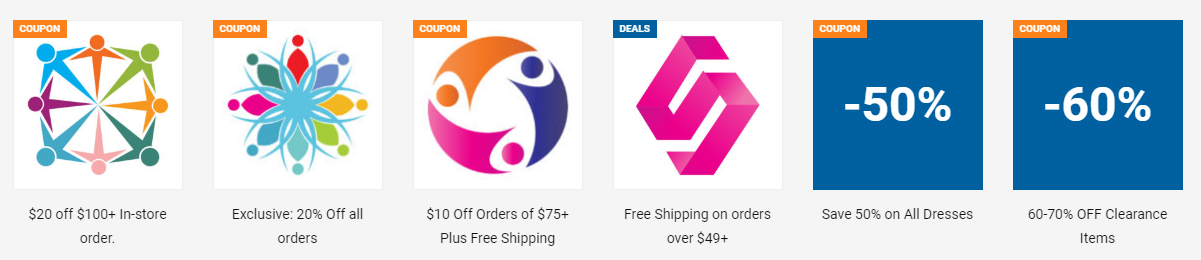
Popular Coupons
This shortcode will display a number of popular coupons as slider.
- count - number - number of coupons to show. Default is 6.
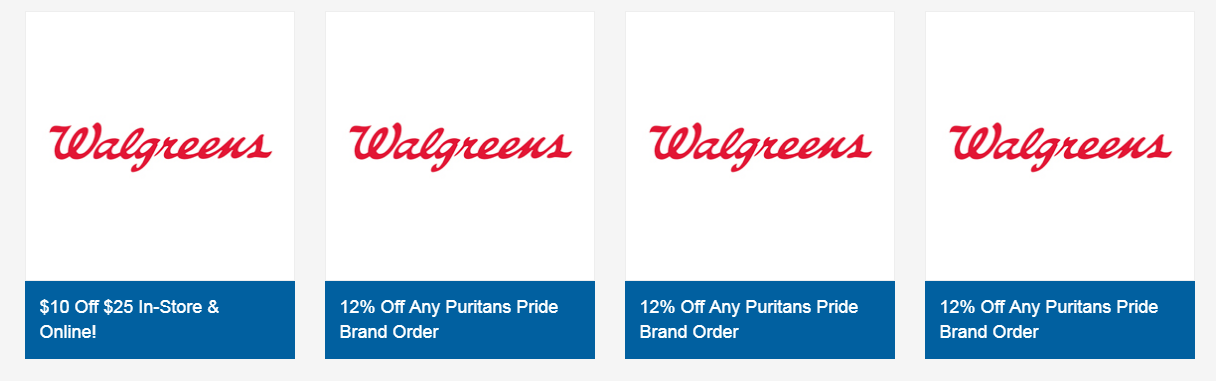
Popular Stores
This shortcode will display a number of popular stores as slider.
- count - number - number of stores to show. Default is 6.
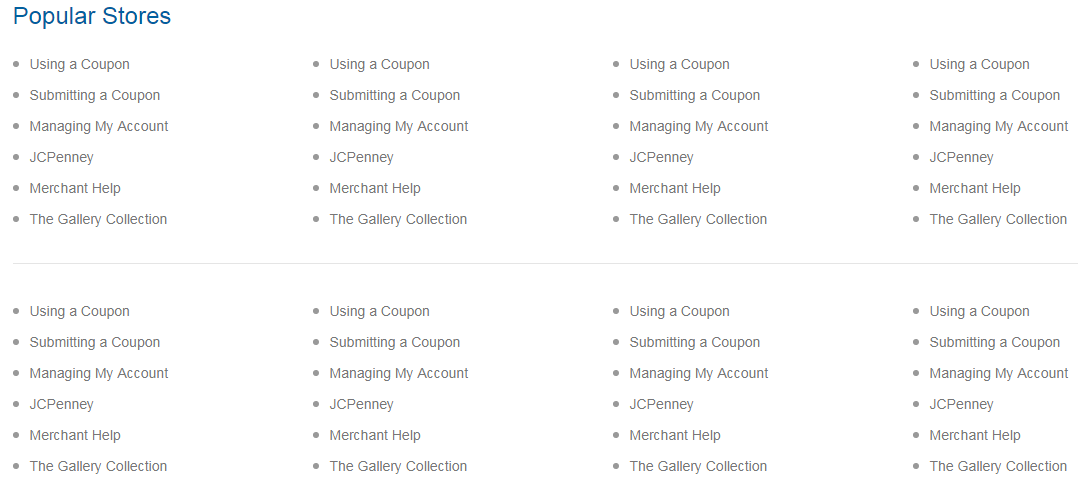
Popular Store Listing
This shortcode will display a number of popular stores as a list.
- title - text - title of shortcode to display. Default is empty.
- count - number - number of stores to show. Default is 48.
- text color - color - color of text link. Default is theme color.
- background color - color - background color of entire shortcode. Default is theme color.
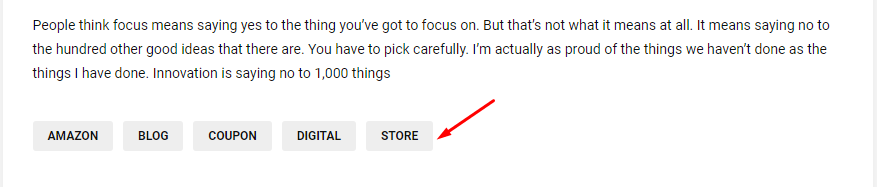
- text_color – hexa color – Color of text
- style - select – Select button style
- bg_color – hexa color – Color of background
- text_hover_color – hexa color – Color of hovered text
- bg_hover_color - hexa color – Color of hovered background
- icon – string – Icon CSS Class
- url – string – URL to navigate
- link_target – select – URL target, to open link in new tab (_blank) or current page (leave empty)
Default Style:
Bordered Style:
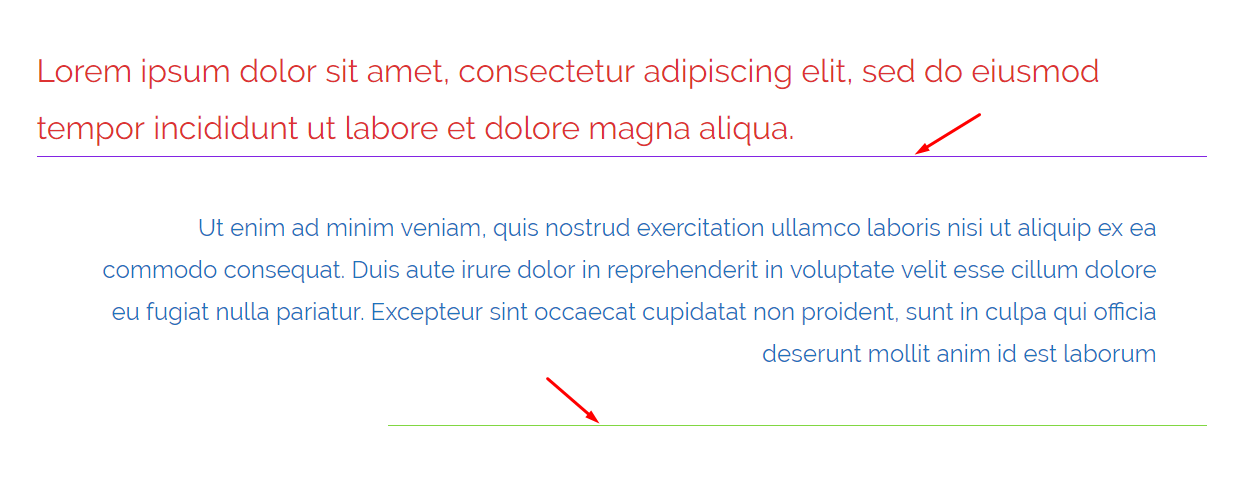
Separator
- width – number or percentage: Width of Separator in Pixel or %. Ex: 50%. Default is 100%
- height – number: Height of Separator in Pixel. Default is 1(px)
- color – hexa color: Color of Separator
- padding – mixed: Padding of Separator. Default is ‘0px 0px 0px 0px’ (TOP RIGHT BOTTOM LEFT).
- alignment – select: Select alignment: left, center, right
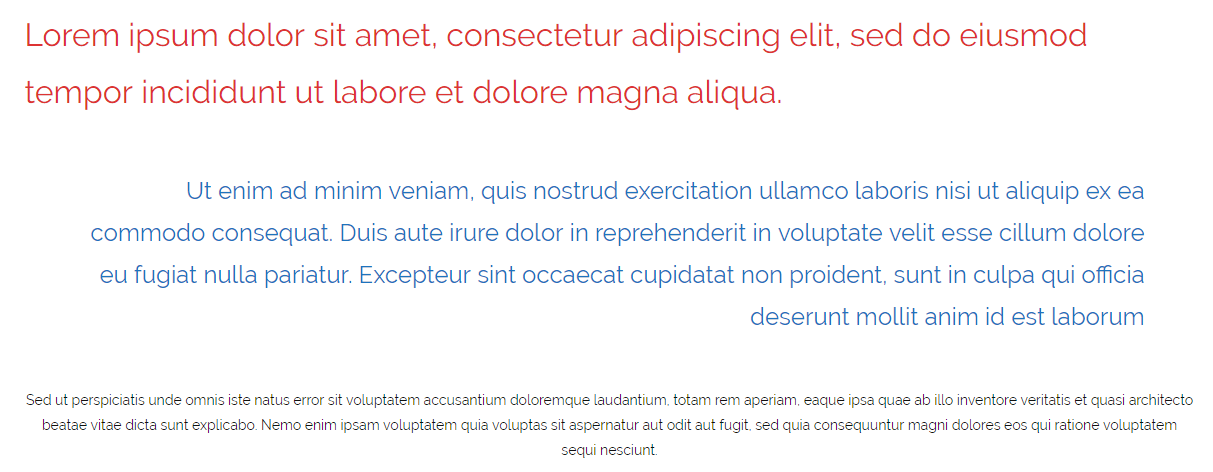
Typo
This shortcode is used to format text.
- size – int – Font size, in pixels
- weight - select – Font weight
- color – hexa color – Text color
- padding – mixed – Padding of text, default is ‘0px 0px 0px 0px’. Format: ‘top right bottom left’
- margin - mixed – Margin of text, default is ‘0px 0px 0px 0px’. Format: ‘top right bottom left’
- alignment – select – Text alignment (left, right, center)
- line-height – select – Line height of text (1em, 1.1em, 1.2em, 1.5em, 2em)
- html_tag – string – HTML tag to wrap the text. Default is
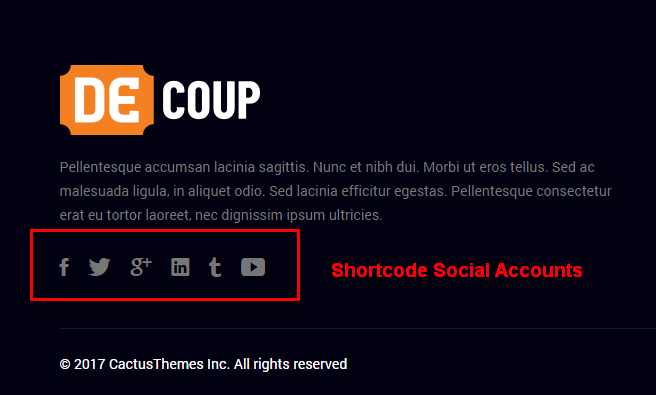
Social Accounts
Social Accounts shortode is only available in Classic Editor. This shortcode will display social account
that you configured in theme options panel.
CATEGORY PAGE
- Each category has its own options which allow you to override settings in Theme Options >
Categories
PAGES
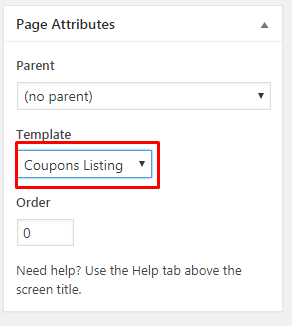
COUPON LISTING PAGE-TEMPLATE
Decoup provides a Coupon Listing Page Template to list all coupon. To use this page template, Decoup Core
plugin needs to be installed first.
- Go to Pages > All Pages and Add New page. Name it Coupon Listing
- Choose Coupon Listing in "Template" select box. Leave the page content empty as it is
ignored.
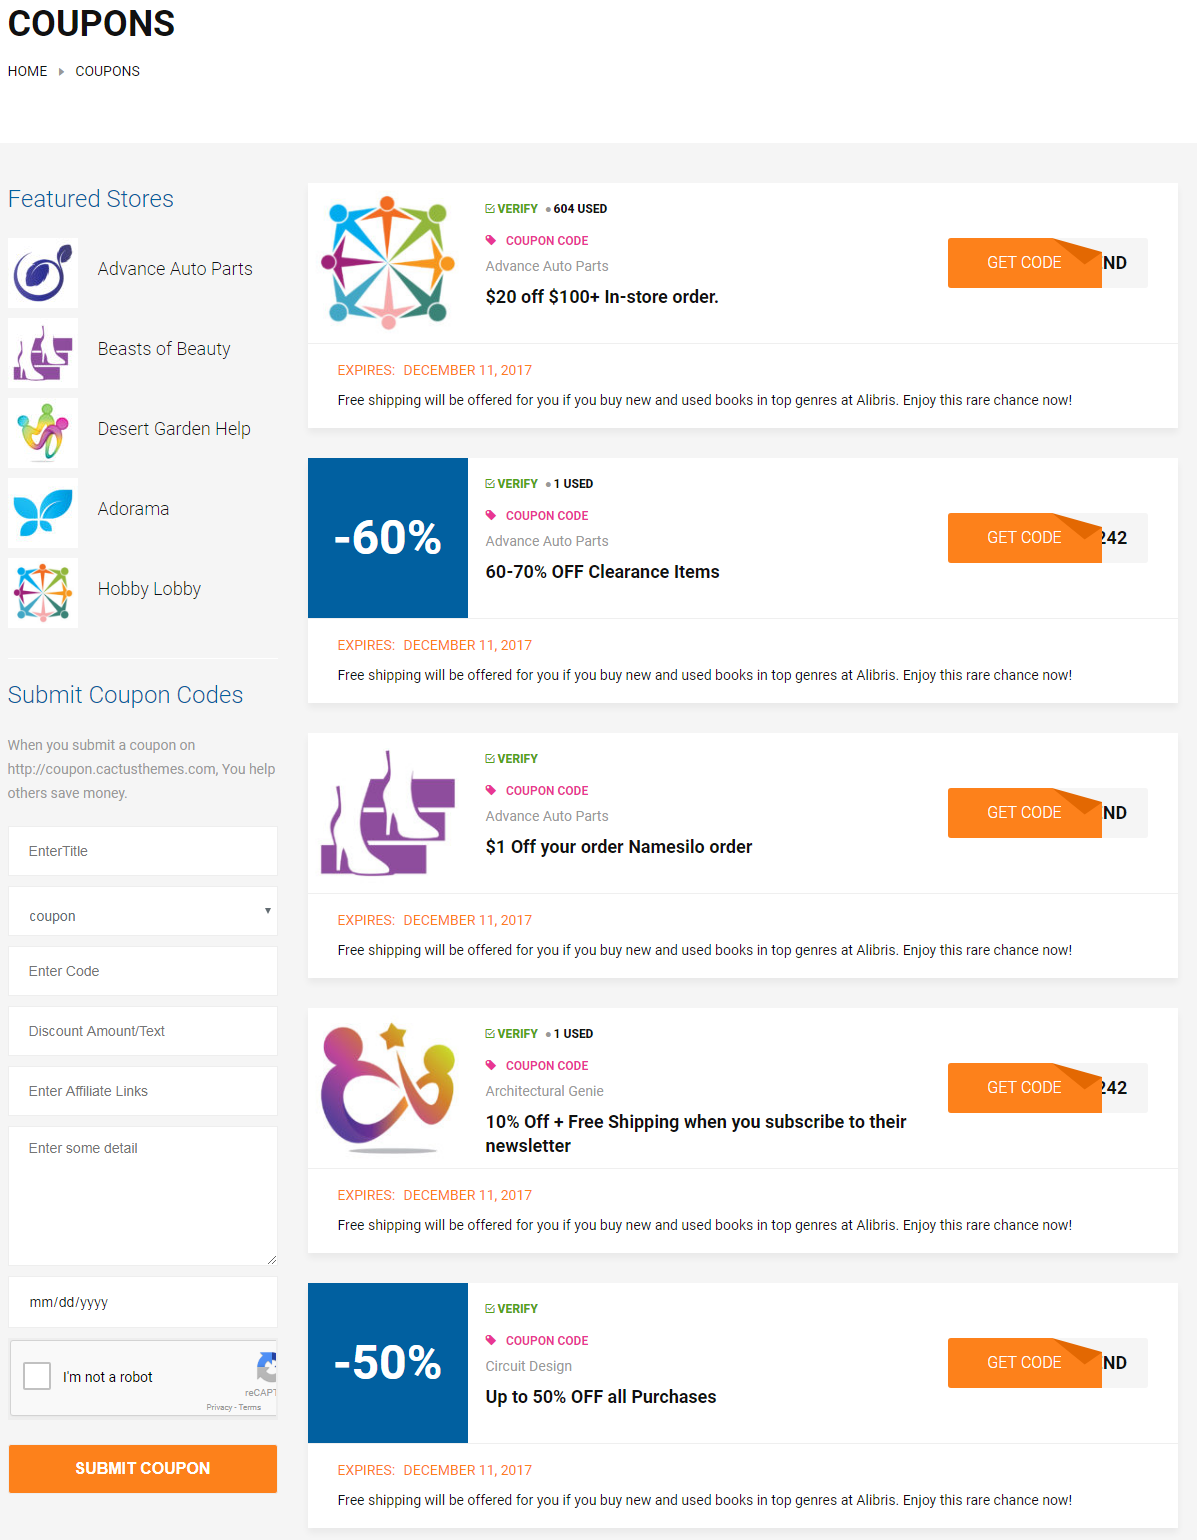
Below is a sample of a coupon listing page
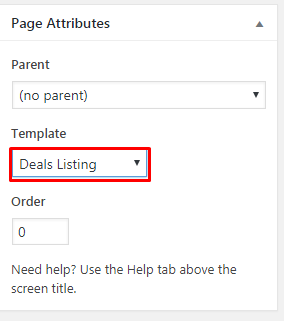
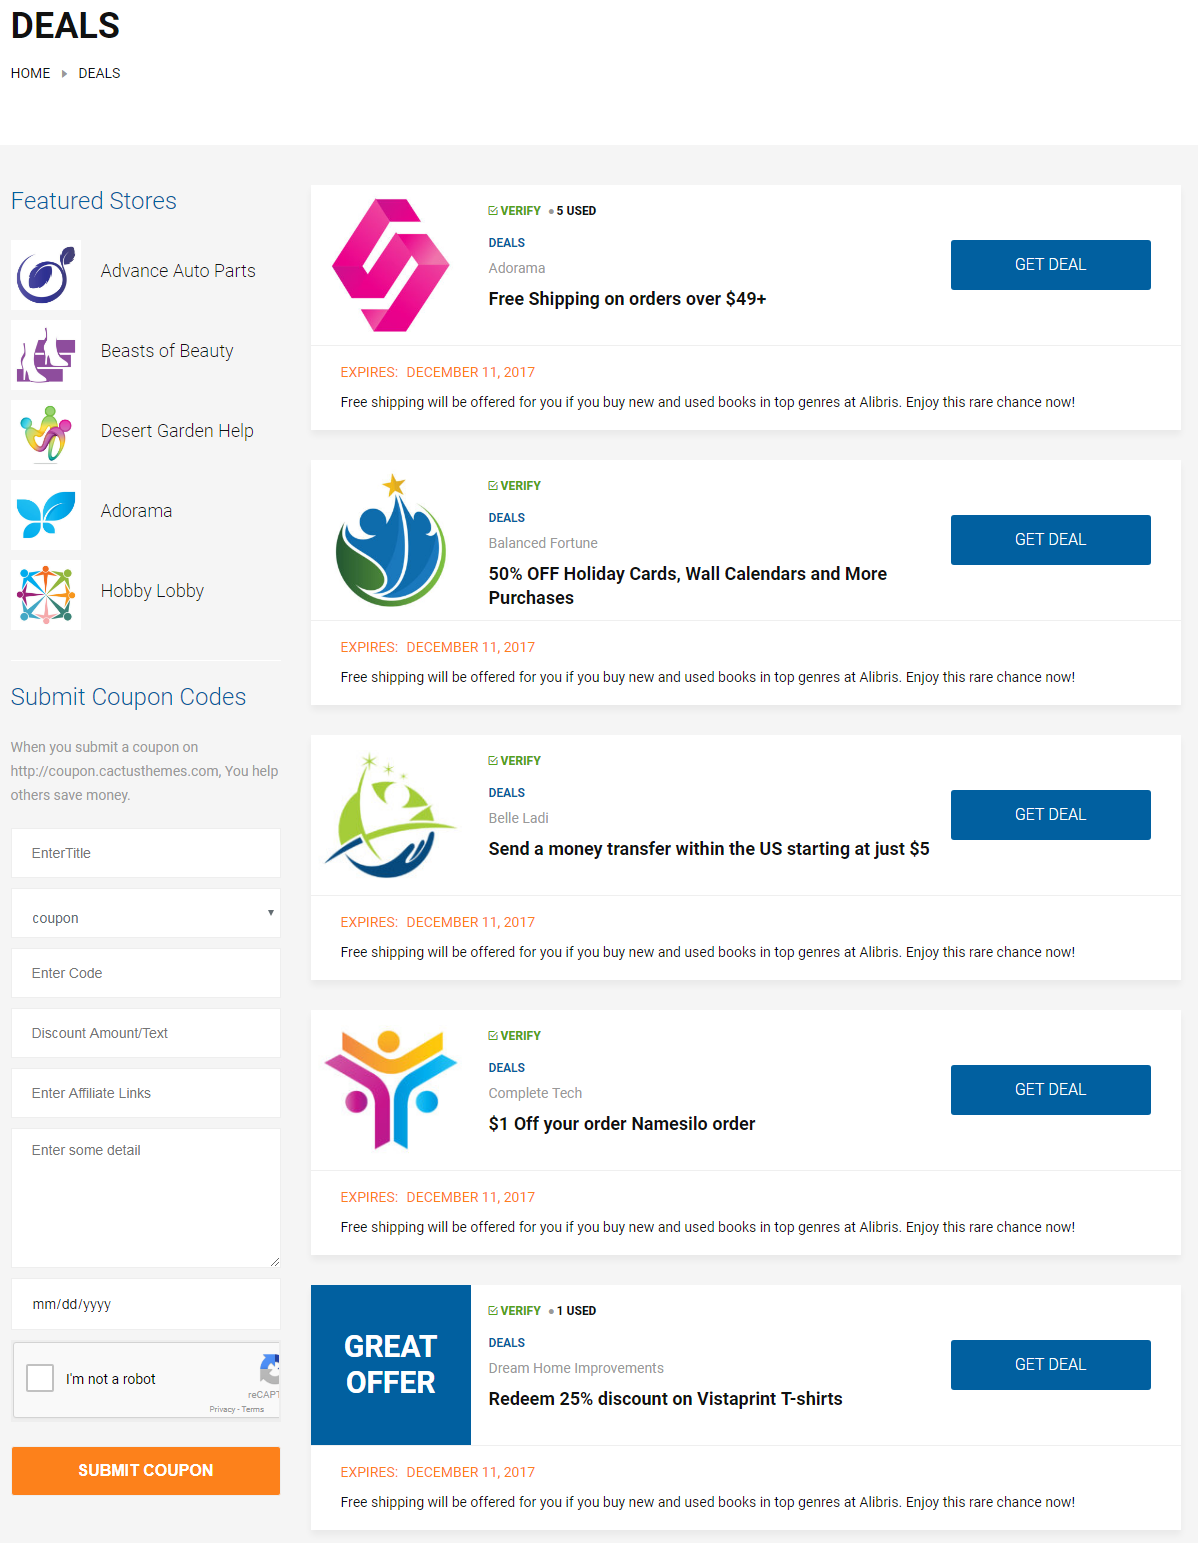
DEAL LISTING PAGE-TEMPLATE
Decoup provides a Deal Listing Page Template to list all deal. To use this page template, Decoup Core
plugin needs to be installed first.
- Go to Pages > All Pages and Add New page. Name it Deal Listing
- Choose Deal Listing in "Template" select box. Leave the page content empty as it is ignored.
Below is a sample of a deal listing page
PAGE SETTINGS
- Sidebar: Select "Default" to use global setting in Theme Options > Single Page, or
choose specific layout for sidebar in this page
POSTS
POST SETTINGS
- Post Metadata
Sub Title: An additional title for the post
Post Layout
- Sidebar: Right, Left, Hidden. Select "Default" to use setting in Theme Options > Single Post
POST FORMAT
Decoup theme supports Standard, Video, Audio and Gallery Post Format.
OTHER SETTINGS
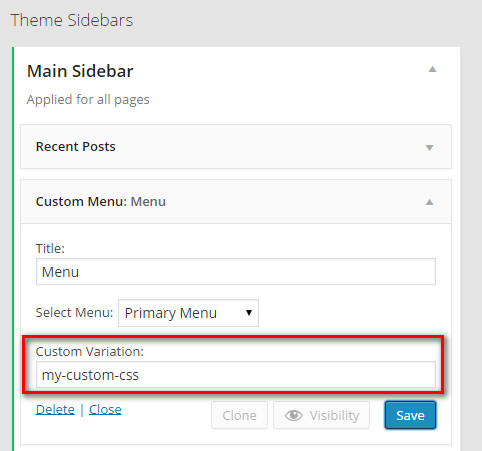
WIDGET CUSTOM VARIATION
In every widget, there is a textbox called Custom Variation. It is used when you want to customize the
widget using custom CSS. The value entered in this textbox is added to the CSS class property of the widget
box in front-end, then you can write CSS for this widget
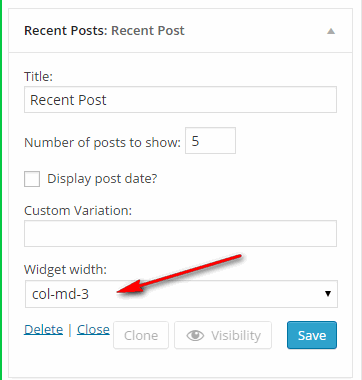
Note: When you drag widgets into Footer Sidebar, you can set Widgets manually by using Select Box
(col-md-X). Make sure that the total width of each row is 12 column. For example: you have inserted 4
Widgets into Footer Sidebar, you want to split the width of the widget evenly, you need to select the width
to be (col-md-3) in Widget width or a Widget named "Recent Posts", you can set its width to be (col-md-3)
or you can set its width randomly.
DECOUP CORE
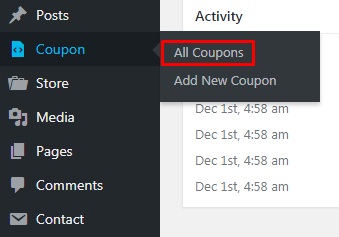
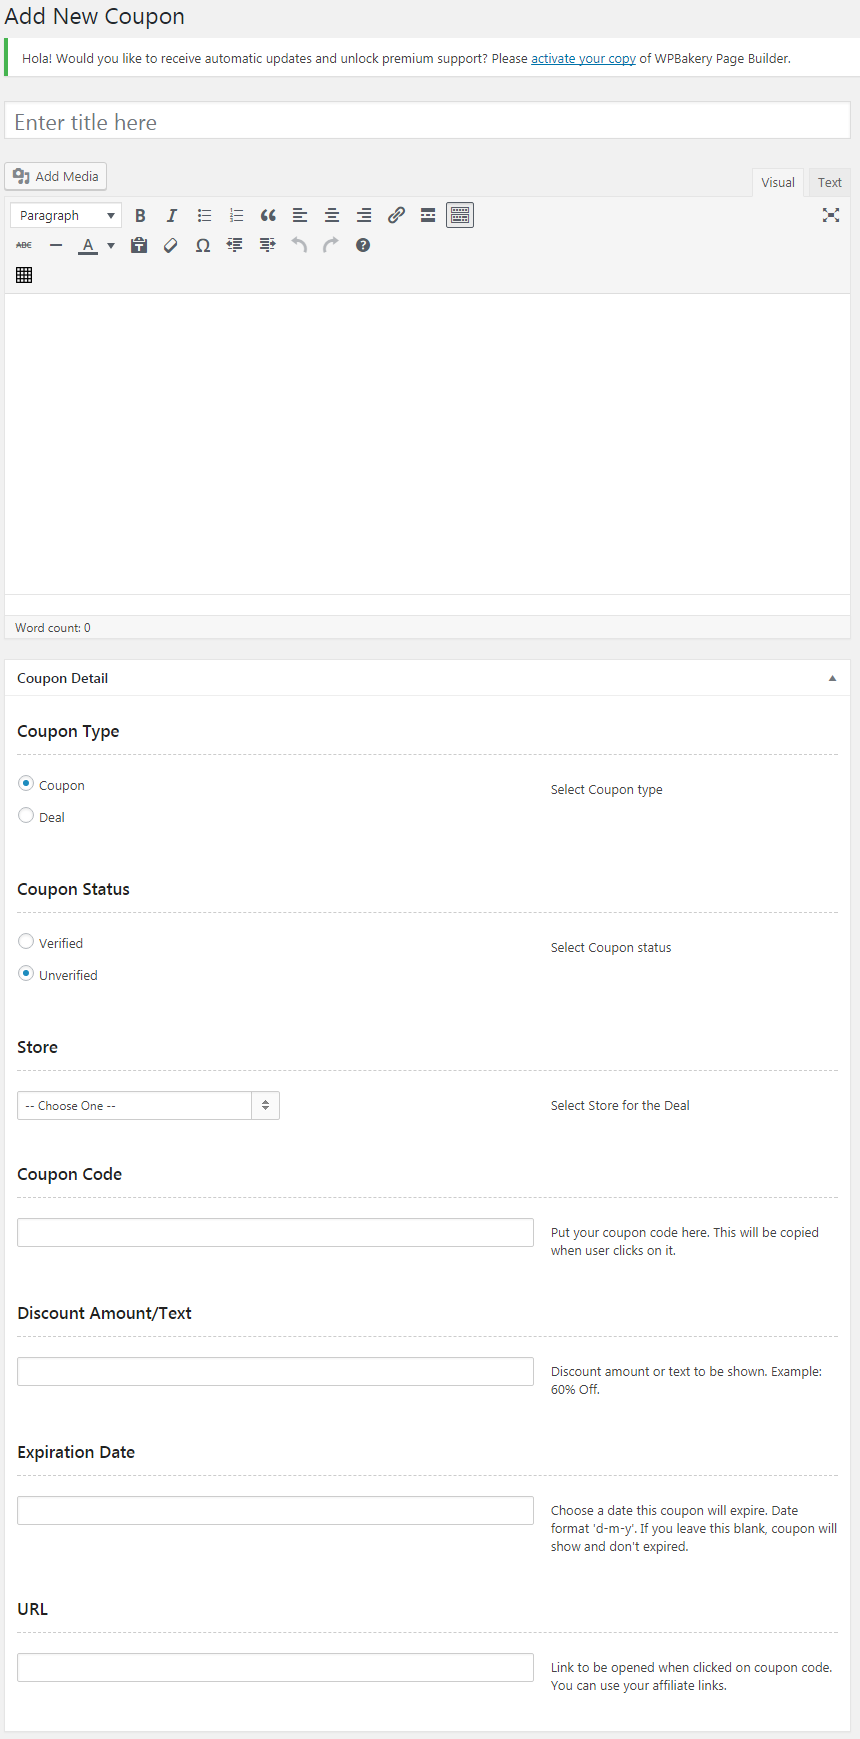
CREATE COUPON
- Step 1 - Create a Coupon : Go to Coupon > Add New Coupon
- Step 2 - Enter coupon title and information to fields in Coupon Detail
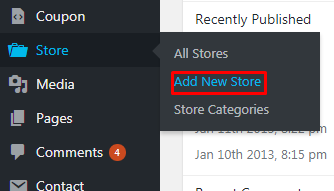
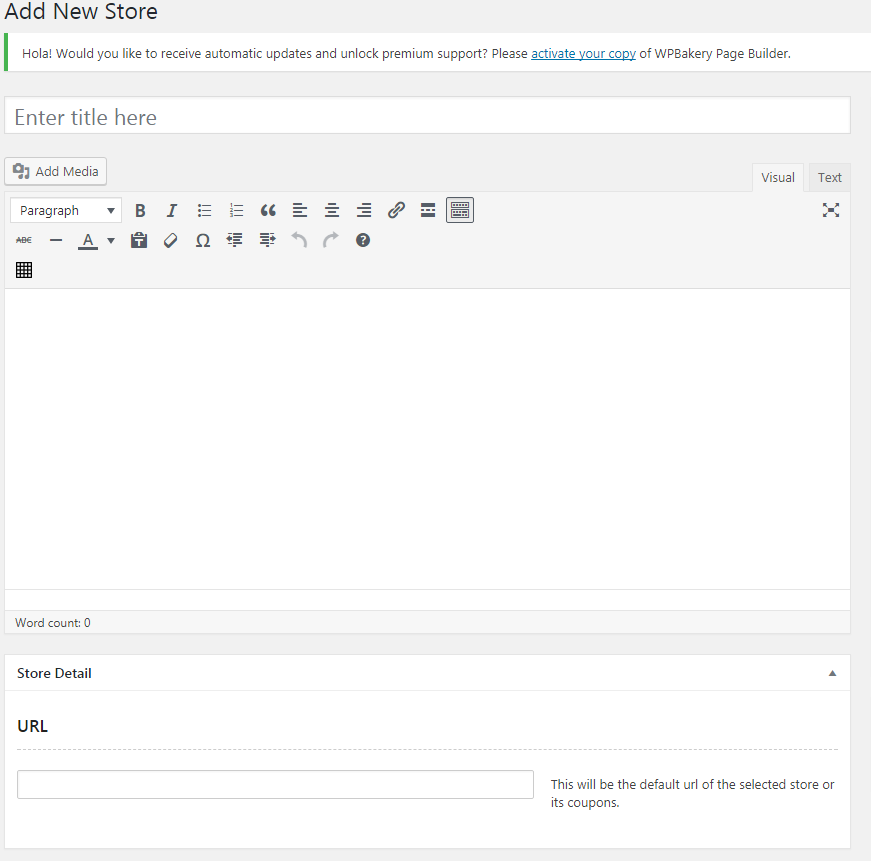
CREATE STORE
- Step 1 - Create a Store : Go to Coupon > Add New Store
- Step 2 - Enter store title and information to fields in Store Detail
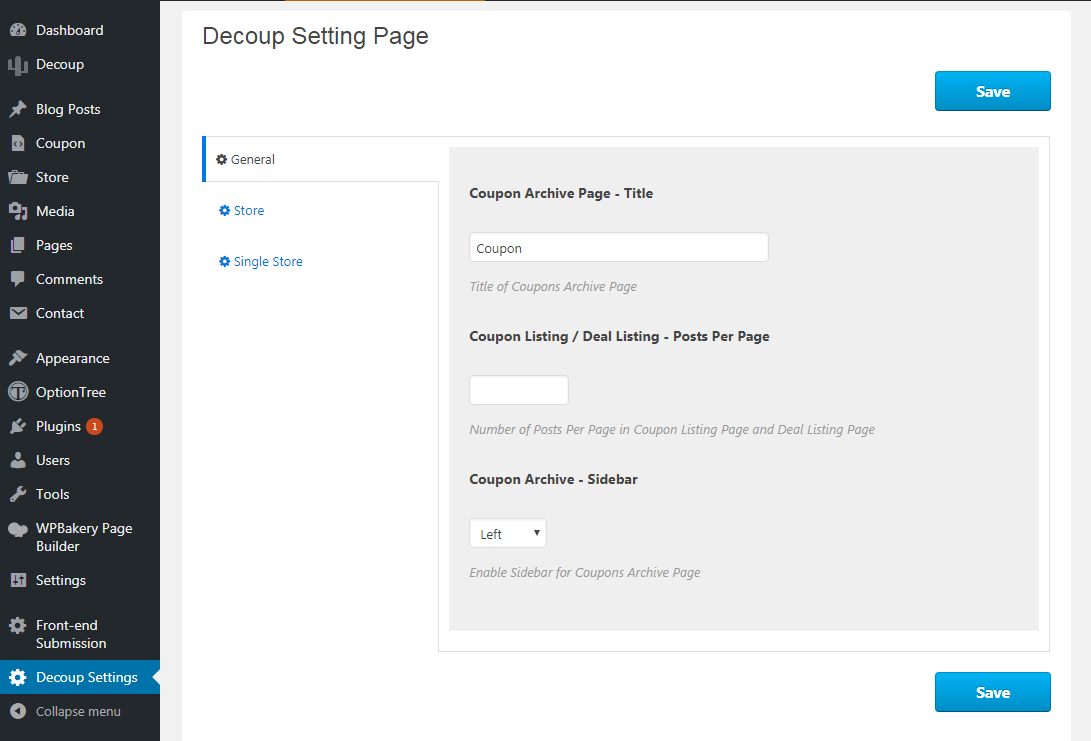
DECOUP SETTING
Go to Decoup Settings on the left of menu to configure several needed information
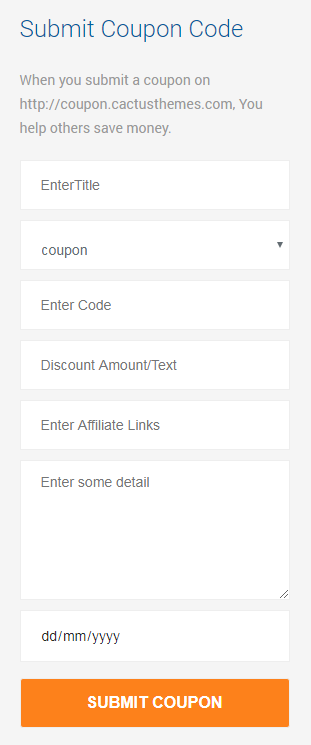
FRONTEND SUBMISSION
This plugin allow you or user to be able to submit coupon directly on the site via a form (not in admin
dashboard)
To use this feature, please do as following steps:
- Step 1 - Install plugin Cactus Frontend Submission &
Contact form 7
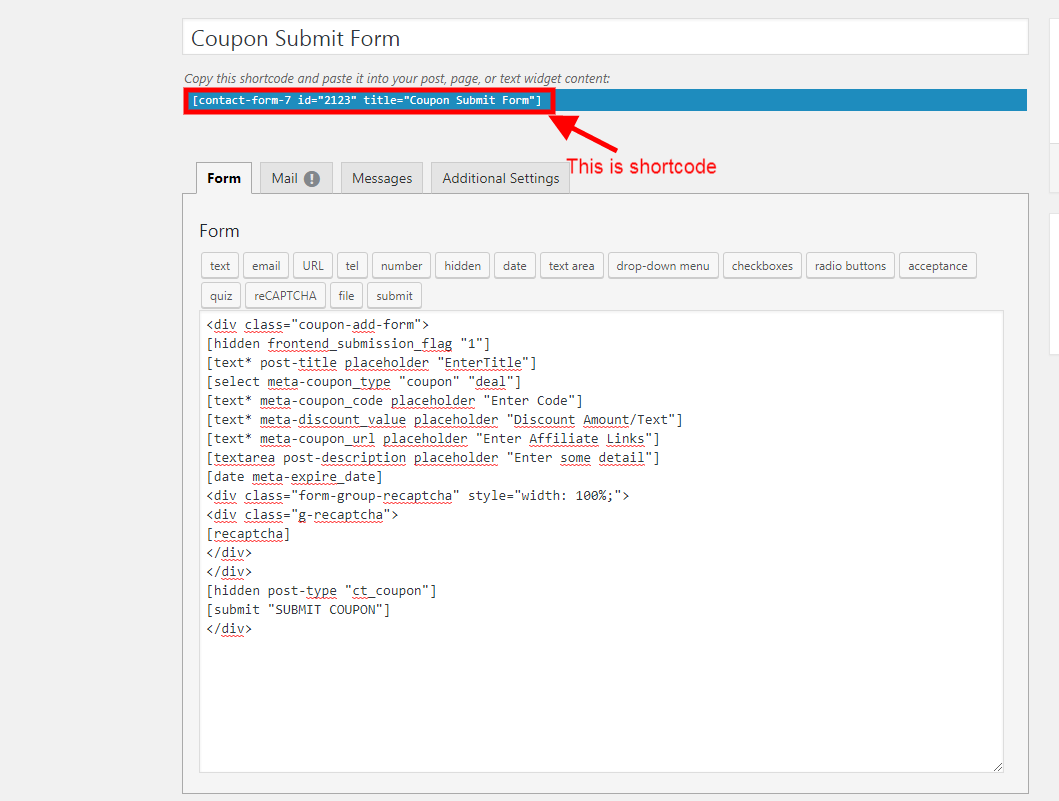
- Step 2 - Create a form using Contact form 7 plugin with the content of the form as code below
- Step 3 - Copy shotcode of the form you created before
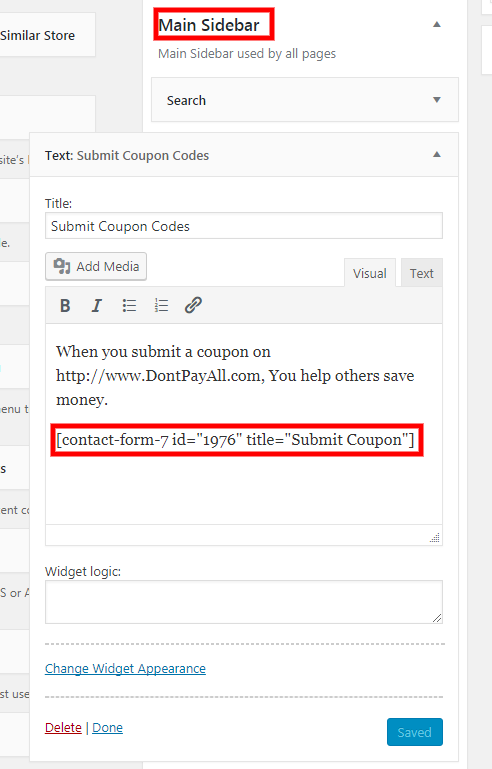
- Step 4 - Drag a text widget to a sidebar that you want to display coupon submission form. Paste the
shortcode from step 3 into the text widget. Now you have coupon submission form work fine on the site.
RTL & Translation
The Coupon is a WMPL compatible and multi-language ready theme. To translate this theme:
- Download and install this tool POEdit
- Open POEdit and load [/decoup/languages/decoup.po]
- Translate the text and save the file
- A file named decoup.modecoup is created. Save it in /languages/ folder. Rename it with
Code Name of your language. For example, de_DE.mo for German - Deutsche. See language code
list here http://codex.wordpress.org/WordPress_in_Your_Language
- For WordPress 4.0 and above, go to Settings > General and choose Site Language
- For WordPress 3.9.2 and below, open [{wordpress root}/wp_config.php] and find this line define('WPLANG',
'');. Change it with your language code, for example define('WPLANG', 'de_DE');
The Coupon also supports RTL - Right To Left languages. If your language is RTL, go to Appearance
> Theme Options > General > RTL mode and check Enable RTL
Licenses
The list might not be complete by accident. Authors who think you owe a license in this theme, please
contact us at
[email protected]
Support
If you face any problems with the installation or customization of our product, please do not hesitate to
contact us via our support ticket system:
http://ticket.cactusthemes.com/